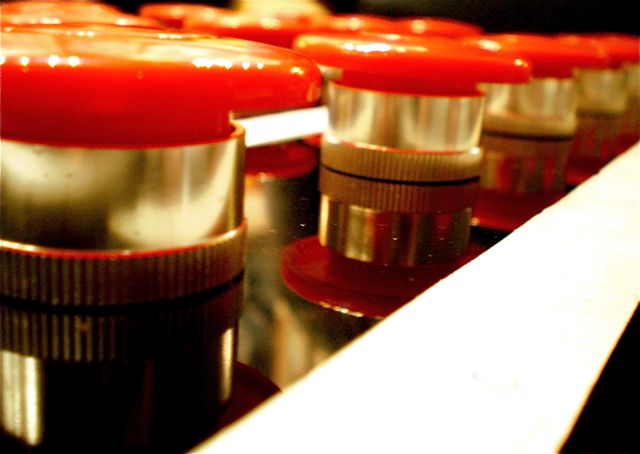
 20 buttons and a USB cable - simple as that.Buttons for rock stars to pound out sweet beats.
Everyone always asks me how I make my music, so I'm uploading some photos of the music instrument I use.
Today it's my industrial-strength homemade midi controller.###How Colin and I made the world's most basic midi controller
I've always liked to experiment, taking my instruments apart and making new ones. I came up with the idea for this midi controller a while back - I've always wanted to pound away on big big buttons. Big Big Buttons! Just like on a subway train - those big emergency buttons. Got to talking with Colin about the idea, and we made it come to life. I gave him a few schematic concept sketches, and he put the wiring under the hood together. We made it specifically for use with Ableton. So instead of messing around with full-on midi programming, we actually did the circuitry by disassembling a normal keyboard and reassigning the keystrokes to the buttons. In a sense its not a full-on midi controller, but for all intensive purposes it works as one.
The casing body is now is now a 2.0 version. For our beta version we uses an attache case, with an acrylic plate that the buttons were attached to. After the wiring was all tested and completed, I wanted to give it a solid casing. So I went out and got the shiny black casing made down the street in Dongmen. ###How it works - triggering beats, samples and effects
Use it basically for two things - triggering samples and beats, and controlling effects. Each button is a trigger for an event in Ableton, so playing live I can trigger effects and sounds. I like to set up the samples and effects I use in a show in advance, then I can drop in stuff on the fly without ever having to look at a computer screen. With a guitar, mic, or turntable hooked up thru the soundcard to Ableton, I can switch up between effects settings, using it as my effects pedal.
Whenever, wherever have a nice day.